How to Transfer Everything From an Old iPhone to a New iPhone
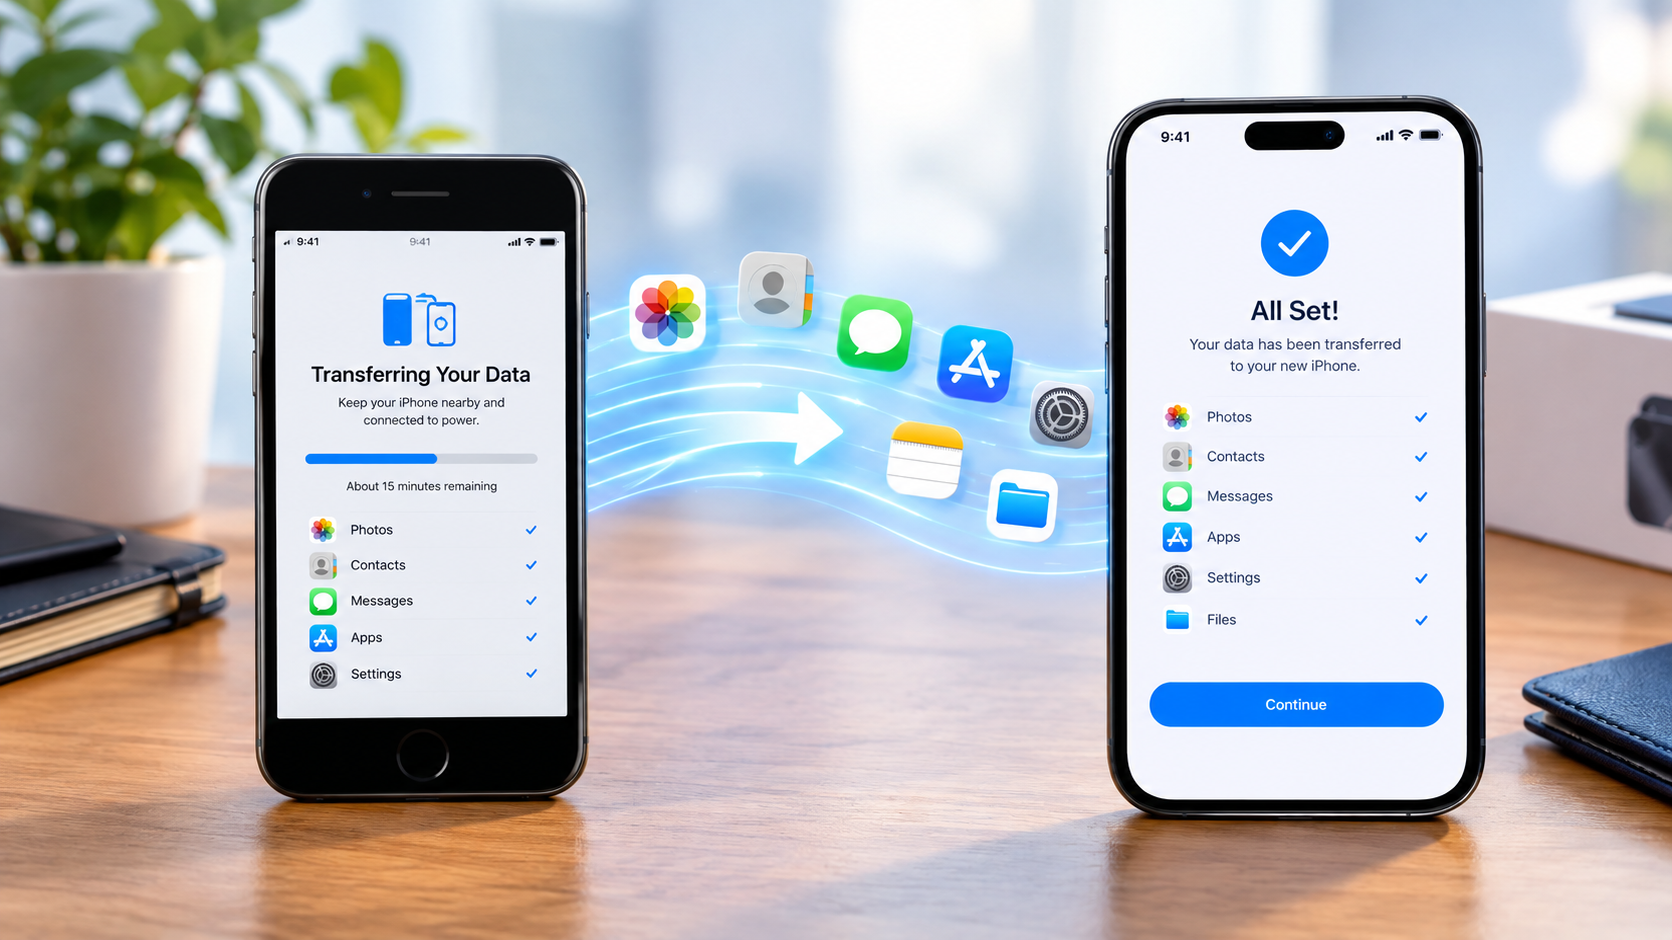
Getting a new iPhone does not mean you have to start from scratch. You can transfer your photos, videos, contacts, messages, apps, settings, passwords, and other important information from your old iPhone to your new one.
The easiest method is Quick Start, which allows two iPhones to transfer data directly during the setup of the new device. You can also use an iCloud backup or a backup made with a computer if Quick Start is not suitable.
In this guide, you will learn how to transfer everything from an old iPhone to a new iPhone, what you need before starting, how long the process can take, how to transfer your SIM or eSIM, and what to check before erasing your old iPhone.
What Can You Transfer From an Old iPhone to a New iPhone?
Depending on the transfer method and your settings, you can move most of the important information from your old iPhone, including:
- Photos and videos
- Contacts
- Text messages and iMessages
- Call history
- Calendars
- Notes
- Safari data and bookmarks
- Email accounts
- App data
- Many installed apps
- Device settings
- Home Screen arrangement
- Wi-Fi settings
- Passwords and passkeys stored in iCloud Keychain
- Health and other supported personal data
- Files stored on the device
- Apple Account-related information
- Some cellular and eSIM information
Apple provides three main ways to move data from one iPhone to another: Quick Start, iCloud, and a computer backup using Finder, Apple Devices, or iTunes.
However, not every app or account works exactly the same way. Some apps may require you to sign in again, and some services have their own backup or transfer procedures.
Before You Transfer Everything to Your New iPhone
Before starting the transfer, prepare both iPhones.
1. Keep Your Apple Account Password Ready
You may need your Apple Account password during setup.
If you have forgotten it, recover access to your account before starting the transfer.
2. Charge Both iPhones
A large transfer can take some time, particularly if your old iPhone contains many photos and videos.
Ideally, connect both devices to power before starting.
3. Turn On Wi-Fi
Quick Start uses a wireless connection between the devices for the migration process.
Keep the old and new iPhones close together during the transfer.
4. Check Storage on the New iPhone
The new iPhone needs enough available storage for the information you want to move.
For example, if your old iPhone contains almost 200 GB of data, a new iPhone with considerably less usable storage may not be able to hold everything.
Go to:
Settings > General > iPhone Storage
on the old iPhone to see how much space your data is using.
5. Back Up Your Old iPhone
Even if you plan to use Quick Start, creating a backup first gives you another recovery option if something goes wrong.
Apple recommends having a backup before transferring your information to a new device.
Method 1: Transfer Everything Using Quick Start
For most people, Quick Start is the simplest way to transfer data from an old iPhone to a new iPhone.
It allows your old iPhone to help set up the new iPhone and can transfer your data directly.
Apple says compatible iPhones can transfer data wirelessly when the devices are kept near each other and connected to power.
Step 1: Turn On Your New iPhone
Turn on the new iPhone.
You should see the Hello screen if it has not been set up yet.
If the new iPhone has already been completely set up, you may need to erase it before using the normal setup-based transfer process.
Important: Do not erase the old iPhone.
Your old iPhone should remain intact until you have confirmed that your information is safely available on the new device.
Step 2: Place the Two iPhones Together
Place the old iPhone next to the new iPhone.
Make sure:
- Wi-Fi is turned on
- Bluetooth is enabled
- Both devices have sufficient battery
- Both devices remain close together
Your old iPhone should display a Quick Start prompt asking whether you want to use your Apple Account to set up the new iPhone.
Step 3: Follow the Quick Start Instructions
Follow the instructions displayed on the old iPhone.
You may be asked to authenticate yourself and enter the old iPhone’s passcode.
The new iPhone may also display an animation that you need to scan using the old iPhone’s camera.
Step 4: Enter Your Old iPhone Passcode
When prompted, enter the passcode that you use to unlock your old iPhone.
This helps authenticate the transfer and continue the setup process.
Step 5: Set Up Face ID or Touch ID
The new iPhone may ask you to configure Face ID or Touch ID, depending on the model.
Follow the onscreen instructions.
Step 6: Choose How You Want to Transfer Your Data
During setup, you may be offered the option to transfer your information directly from the previous iPhone or download it from iCloud.
If you want the old iPhone to transfer the information directly, select the appropriate direct-transfer option.
Step 7: Keep Both iPhones Together
This is one of the most important steps.
Do not move the devices far apart while the transfer is running.
Keep them connected to power if possible.
The amount of time required depends on how much data needs to be transferred.
A phone containing a small amount of data may finish relatively quickly, while an iPhone containing a large photo and video library can take much longer.
Step 8: Wait for the Transfer to Finish
Do not erase, reset, or disconnect the old iPhone during the transfer.
Wait until the new iPhone finishes its setup process.
Once complete, you can begin checking your information on the new device.
Method 2: Transfer Your Old iPhone to a New iPhone Using iCloud
If you cannot use direct Quick Start transfer, you can restore the new iPhone from an iCloud backup.
This method is particularly useful if your old iPhone is unavailable but you have a recent iCloud backup.
Step 1: Back Up Your Old iPhone
On your old iPhone, open:
Settings > [your name] > iCloud > iCloud Backup
Then select the option to back up the iPhone.
Wait for the backup to complete.
Make sure the backup is recent before continuing.
Apple also notes that people who purchase a new iPhone may be eligible for temporary iCloud storage for transferring their information.
Step 2: Turn On the New iPhone
Turn on the new iPhone and begin the setup process.
Connect it to Wi-Fi when prompted.
Step 3: Choose the iCloud Restore Option
When you reach the screen for transferring apps and data, choose the option to restore from an iCloud backup.
Sign in with your Apple Account.
Step 4: Select Your Backup
Choose the most recent relevant backup from your old iPhone.
The new iPhone will begin restoring your information.
Some content may continue downloading after you reach the Home Screen, so do not assume that everything has finished immediately.
Keep the new iPhone connected to Wi-Fi and power while the restoration continues.
Method 3: Transfer an iPhone Using a Computer Backup
You can also transfer information using a backup made on a computer.
Depending on your computer and operating system, Apple provides tools such as Finder, the Apple Devices app, or iTunes for backing up and restoring iPhones.
This can be useful when:
- Your iCloud storage is insufficient
- Your internet connection is slow
- You already maintain computer backups
- You prefer a local backup
Connect your old iPhone to the computer and create a backup.
Then connect the new iPhone and choose the option to restore it from that backup during setup.
Important: Encrypted Backups
If you use an encrypted computer backup, some additional sensitive information can be included in the backup.
Keep the backup password somewhere safe because losing it can prevent you from using that encrypted backup.
How to Transfer Photos and Videos to a New iPhone
Photos and videos are often the largest part of an iPhone transfer.
If you use iCloud Photos, your photos can synchronize through iCloud when you sign in to the same Apple Account and enable the relevant iCloud settings.
If your photos are stored locally, Quick Start or an appropriate backup can transfer them as part of the migration.
After the transfer, open the Photos app on your new iPhone and check:
- Recent photos
- Older photos
- Videos
- Albums
- Favorites
- Screenshots
- Recently Deleted
Do not erase your old iPhone until you have confirmed that your important photos and videos are accessible.
How to Transfer WhatsApp to a New iPhone
WhatsApp has its own data and transfer considerations.
Before moving to the new iPhone, make sure your WhatsApp information is backed up or transferred using the method supported by WhatsApp and your current device configuration.
After installing or opening WhatsApp on the new iPhone, use the same phone number and follow the application’s transfer or restoration instructions.
Do not assume that simply transferring your iPhone settings means every application’s data has automatically been restored.
For important conversations, photos, videos, or documents, verify WhatsApp after the migration before erasing the old iPhone.
How to Transfer Your Phone Number to the New iPhone
Your phone number is separate from much of your iPhone’s data.
If you use a physical SIM card, you may be able to move the SIM from the old iPhone to the new one, provided the new iPhone and carrier support the same SIM format.
If you use an eSIM, the transfer process depends on your carrier and the iPhone models involved.
Apple supports several methods for activating or transferring eSIMs, including carrier-supported transfer options. Carrier support varies by country and provider.
After activating your number, test:
- Phone calls
- Incoming calls
- SMS messages
- Mobile data
- iMessage
- FaceTime
If your eSIM does not transfer automatically, contact your mobile carrier for the appropriate activation method.
Will My Apps Transfer to the New iPhone?
Your apps can generally be restored or redownloaded as part of the setup process.
However, do not assume that every app will behave exactly as it did on the old iPhone.
Some applications may require you to:
- Sign in again
- Verify your phone number
- Enter a password
- Approve a new device
- Restore information from the app’s own backup system
Banking, authentication, password-management, and other security-sensitive apps may have additional verification requirements.
After transferring your data, open your most important apps and make sure you can access your accounts.
Will My Passwords Transfer to the New iPhone?
If your passwords and passkeys are stored in Apple’s iCloud Keychain, they can be available on your new Apple device after you sign in and enable the appropriate iCloud settings.
However, it is still a good idea to verify important accounts before getting rid of your old iPhone.
Pay particular attention to:
- Email accounts
- Social media accounts
- Banking apps
- Password managers
- Two-factor authentication apps
- Work or school accounts
If an account uses your old device for verification, make sure you have another approved verification method before erasing the old phone.
What Does Not Always Transfer Automatically?
Although the goal is to transfer everything, there are situations where some information requires additional steps.
Examples include:
App Logins
Some apps require you to sign in again.
Banking Applications
Financial apps may require identity or device verification.
Authentication Apps
Some two-factor authentication accounts require a separate migration process.
Apple Pay
Payment cards may require additional verification when setting up the new iPhone.
eSIM
Your carrier may require a separate activation process.
Content From Certain Apps
Some apps store information on their own servers or use separate backup systems.
This is why you should inspect the new iPhone before erasing the old one.
How to Check That Everything Transferred
Before you erase your old iPhone, use this checklist.
Check your contacts
Open the Contacts app and confirm that important contacts are present.
Check your photos
Open Photos and look through recent and older pictures.
Check your videos
Make sure important videos play correctly.
Check your messages
Open Messages and check recent conversations.
Check WhatsApp
Confirm that important conversations and media are available.
Check your files
Open the Files app and confirm important documents are present.
Check your notes
Open Notes and verify your important notes.
Check your calendar
Make sure important appointments and events are present.
Check your email
Open your main email accounts and confirm that you can send and receive messages.
Check your apps
Open your most important applications and verify that you can sign in.
Check your phone number
Make a test call and send a text message.
Check mobile data
Turn off Wi-Fi temporarily and verify that cellular data works.
Check Face ID or Touch ID
Make sure your biometric authentication works correctly.
Only after completing these checks should you consider erasing the old iPhone.
What to Do With Your Old iPhone After the Transfer
Do not immediately factory reset the old iPhone.
Keep it available for a while after the transfer so you can recover anything that may have been missed.
Once you are confident that everything important is on the new iPhone, you can prepare the old device for its next owner.
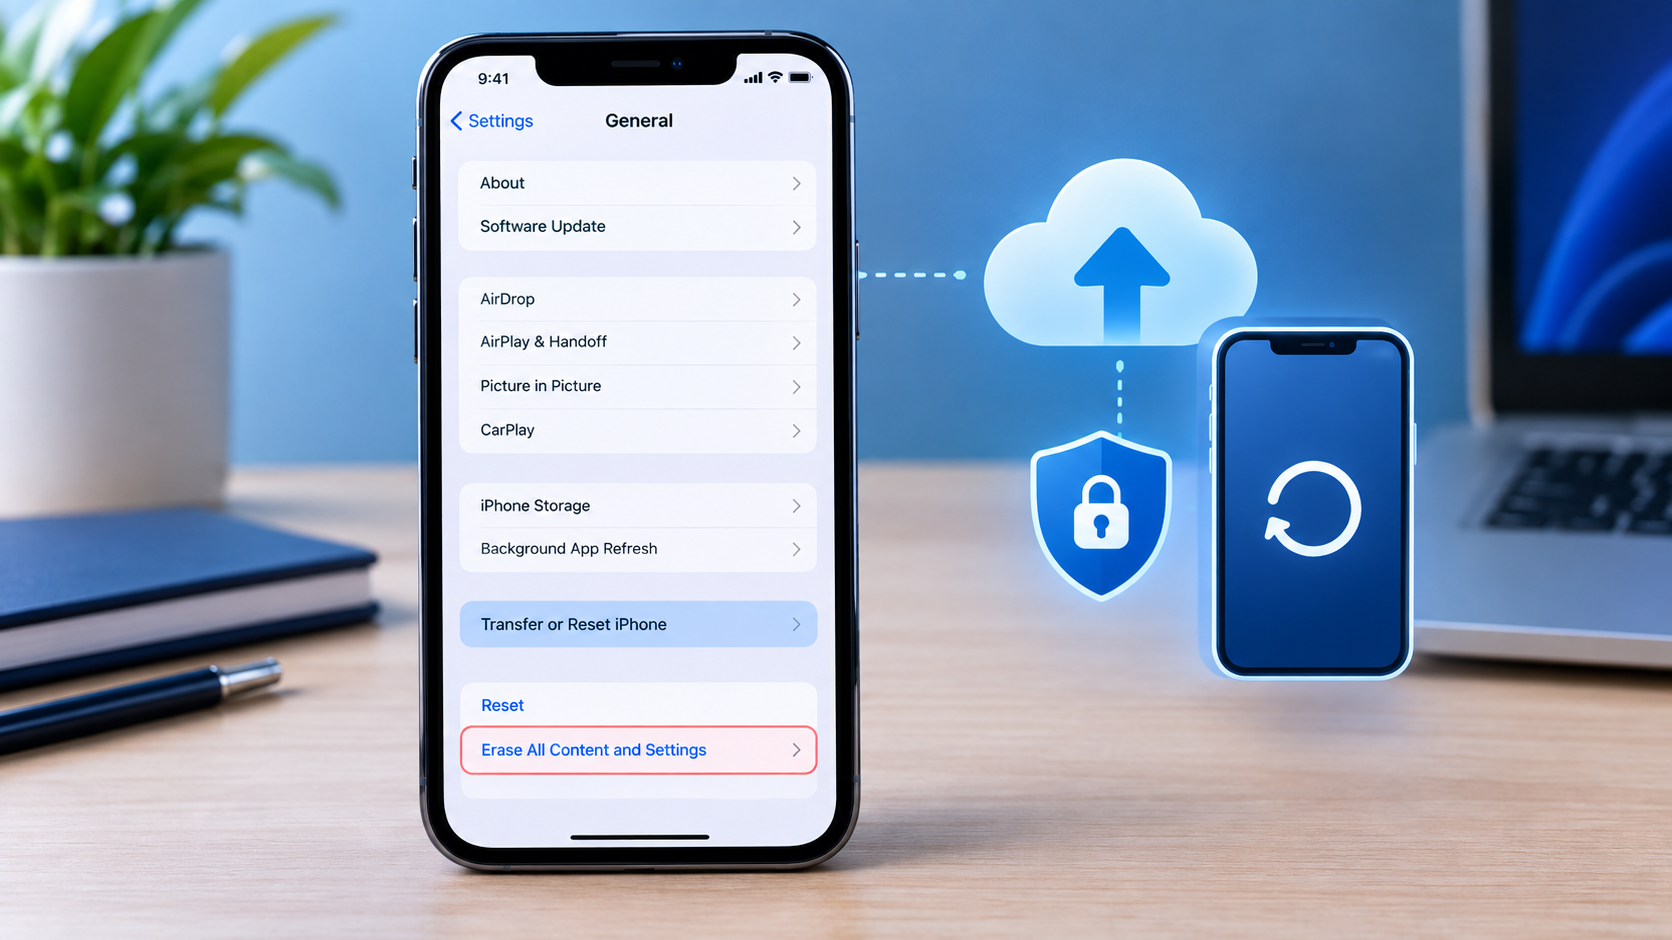
If you are selling, trading in, or giving away the old iPhone, make sure you properly sign out of your Apple Account and erase the device.
The goal is to leave the old iPhone without your personal information while also ensuring that Activation Lock is no longer associated with the device.
What If Quick Start Is Not Working?
If the transfer is stuck or Quick Start does not appear, try these steps.
Keep the iPhones closer together
Move the devices next to each other and make sure neither phone is too far away.
Check Wi-Fi and Bluetooth
Make sure Wi-Fi and Bluetooth are enabled on the old iPhone.
Connect both phones to power
A low battery can interrupt a long migration.
Restart both iPhones
Restarting both devices can resolve temporary setup problems.
Update the old iPhone
If possible, install available software updates before beginning the migration.
Check storage
Make sure the new iPhone has enough storage for the data you are attempting to transfer.
Try iCloud instead
If direct transfer continues to fail, restore the new iPhone from an iCloud backup.
Use a computer backup
If wireless transfer is unreliable, a Finder, Apple Devices, or iTunes backup provides another option.
How Long Does It Take to Transfer Everything From One iPhone to Another?
There is no single transfer time that applies to every iPhone.
The duration depends on factors such as:
- Amount of data
- Number of photos and videos
- Transfer method
- Wireless connection
- iPhone models
- Internet speed when using iCloud
- Computer performance when using a computer backup
A phone with only a few gigabytes of data can finish much faster than a phone containing a large photo and video library.
The safest approach is to start the transfer when you do not urgently need either phone.
Can You Transfer Data After Setting Up the New iPhone?
Yes, but the easiest full-transfer methods are designed to work during the initial setup process.
If you have already completed setup and want to use a setup-based migration method, you may need to erase the new iPhone and start the setup process again.
Apple specifically notes that if the iPhone has already been set up, using certain migration options requires erasing it and starting over.
Be careful: Never erase the new iPhone until you understand what information is already stored there and have a backup of anything important.
Frequently Asked Questions
What is the easiest way to transfer everything from an old iPhone to a new iPhone?
Quick Start is generally the simplest method when you have both iPhones available. Place the old iPhone near the new one and follow the setup instructions to transfer your information.
Does Quick Start transfer everything?
Quick Start can transfer a large amount of your iPhone’s information, but some apps and services may require you to sign in again or complete additional verification.
Always check important apps, accounts, photos, messages, and files before erasing the old phone.
Do I need iCloud to transfer from one iPhone to another?
No. You can transfer information directly between compatible iPhones using Quick Start. You can also use an iCloud backup or a computer backup as alternatives.
Will my photos transfer to my new iPhone?
Photos can transfer through the supported migration or backup method. If you use iCloud Photos, your photos can also synchronize through iCloud.
Always check your photo library before deleting or erasing the old iPhone.
Will my WhatsApp messages transfer?
WhatsApp supports migration and backup options, but you should verify your WhatsApp chats and media on the new iPhone before erasing the old device.
Will my phone number transfer?
Your phone number can be moved to the new iPhone through a physical SIM or a supported eSIM activation/transfer method. Carrier support varies.
Should I erase my old iPhone after transferring?
Yes, if you are selling, giving away, or trading it in—but only after confirming that your important information is safely available on the new iPhone.
Can I transfer data if my old iPhone is broken?
If the old iPhone can still be accessed, you may be able to use Quick Start or create a backup. If it cannot be used, an existing iCloud or computer backup may allow you to restore your information.
What if the new iPhone has less storage than the old one?
You may not be able to move all locally stored information if the new iPhone does not have enough available storage.
Check how much storage the old iPhone is using before starting the migration.
Final Checklist Before Erasing Your Old iPhone
Before you factory reset the old iPhone, confirm that you have checked:
- Photos
- Videos
- Contacts
- Messages
- Notes
- Calendars
- Files
- Important apps
- Passwords and passkeys
- Two-factor authentication
- Phone calls
- SMS
- Mobile data
- SIM or eSIM
- Apple Account
- Important documents
If everything important is accessible on the new iPhone, you can then prepare the old device for sale, trade-in, or another user.
Bottom Line
The easiest answer to “How to transfer everything from an old iPhone to a new iPhone” is to use Quick Start when both iPhones are available.
Keep the two devices close together, make sure they have enough battery, follow the setup instructions, and wait for the transfer to finish. If Quick Start is not suitable, you can restore the new iPhone from an iCloud backup or a computer backup.
Most importantly, do not erase your old iPhone immediately after the transfer. First verify your photos, videos, contacts, messages, WhatsApp, files, accounts, phone number, and other important information on the new device.
That final check can prevent the loss of information that was not transferred or restored correctly.

Post Comment